Are you planning a small gathering at home and thinking of impressing your friends with your baking skills?
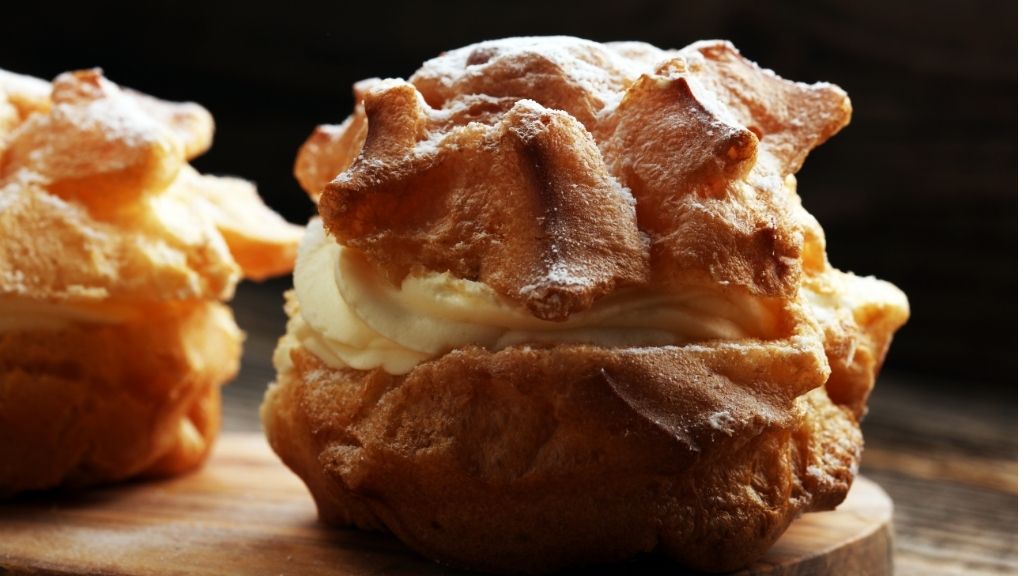
Then this French Dessert is the right option to bake for the party. These crispy hollow shells are made from choux pastry and are then filled with sweetened delicious whipped cream that will surely make a statement.
Contents
- How to Store Cream Puff Shells
- Cream Puffs
- Preparation of Cream Puff
- Tips to Make a Better Cream Puff
- When Should I Take Them Out From the Oven?
- Can I Make Puffs in Advance?
- Can I Freeze the Cream Puffs With Cream Inside?
- What Other Tasty Fillings Can I Add Inside Puffs?
- Frequently Asked Questions (FAQs)
- Final Words
How to Store Cream Puff Shells
Always store baked cream puffs in an airtight container or a zipper bag to prevent them from getting soggy and wet. Use them within the next 24 hours. On the other hand, baked cream puff shells can be stored in a sealed container for up to 2 months.
This post will answer everything about the crispy and fresh cream puffs. We will share an easy recipe along with some tips and tricks so that the crispiness and the freshness lasts longer, and you can enjoy your cream puffs till the next day.
Let’s start with the history of this delightful dessert.
Cream Puffs
Many people say that cream puffs were first baked in Denmark and France and then made a mark in America.
When it entered America’s kitchen, the chefs did some experiments with it, added a few ingredients, and so cream puffs got the shape and taste that we get to eat today.
If you are a naive baker and want to try almost every new dessert, then cream puffs are the classic dessert that you must be familiar with.
Preparation of Cream Puff
Cream puffs are fresh, crisp, and hollow pastry shells made of a special dough known as choux (pronounced as shoo) pastry. You must have tasted eclairs or profiteroles, which are also made from this dough.
No doubt, cream puffs seem to be a very difficult dessert, but they’re not. We bet you will be left surprised after reading its simple recipe.
You just need to cook the flour on the stove, add the butter, water and just whip it in eggs to create a thick and fluffy dough. Yes, it is as simple as you read!
Cream puffs require you to have just five basic ingredients, and these are water, butter, flour, cream, and eggs.
The only thing that you need to care about most is the blending procedure. You need to keep an eye on the clock and blend it well. Let’s read more about the steps!
Step 1: Let’s grab the below ingredients first.
- One ¼ cup water
- ½ unsalted butter
- Four large eggs
- I cup all-purpose flour
- 4 cups whipped cream
Step 2: We will bake the pastry first as this is the major thing. Just boil the water and combine the flour using warm water.
Keep on adding the warm water and melted butter to combine the flour until you get a smooth dough-like structure of flour.
You can use a saucepan with a heavy button to combine the flour. Heat the butter so that you can add melted butter to the flour. Carefully see the structure of the flour. Do not over mix the ingredients.
Use a wooden spoon and keep on mixing until the flour gets smooth and you can form a ball of it.
Step 3: Now take the saucepan off the stove and start beating the eggs until you see the flour gets smooth and shiny.
The recommended way of beating eggs is to beat one egg at a time and beat vigorously with a wooden spoon or a wire whisk.
Step 4: Stop beating the eggs when you see the mixture start to pull away from the sides of the pan and you can form a ball of the mixture.
Step 5: Make small balls of the mixture or scoop them out on a baking mold and place it into the oven. These irregular balls will become crispy domes when taking them out from the oven.
Step 6: After baking, these hollow crispy shells can be filled with either whipped cream, custard, ice cream, or any other creamy fillings and served as a delightful dessert. You can also sprinkle powdered sugar or drizzle it with a glaze.
This amazing dessert will surely make your party a memorable one.

Cream puffs can also be filled with any savory mixture such as chicken salad. You can serve it as a main dish too. These mini puffs will become a real appetizer on the party day.

Tips to Make a Better Cream Puff
Let’s see a few quick tips that you really need to see to make sure you end up with the best baking experience.
- When you form a ball of mixture and place that onto a baking sheet then use a scoop to do it. You can also use a nozzle and a sheet to make it. Just fill the sheet with the dough and attach the nozzle to one corner of it. Now try to make small balls onto the baking sheet. Never try to add more dough or stop making more balls of dough. Keep as simple and minimal as you can.
- On taking puffs out of the oven, carefully remove any soft dough inside the hollow shell so that you only have a crispy shell with you.
- Store these hollow crispy shells in a zipper bag or an airtight bag so that their crispness remains the same. Place them in the fridge and use them within the same day.
- Do not rush when filling the puffs with cream, and wait for them until they are completely cooled. Never place the puffs filled with cream in the fridge for more than 2 hours.
You see how simple it is to make cream puffs. Just bake the shells and create new designs with your babies. Different types of fillings and colorful candy will work as a decoration.

We highly recommend you experiment with the fillings, add cream of different colors, sprinkle glaze or chocolate chips as well.
You can add chocolate sauce as well and then decorate it with crushed candies. These delicious cream puffs are easy to bake and impress your friends with.
Next time, try these easy yet tasty cream puffs whenever you think of making a dessert.

Recommended further reading:
When Should I Take Them Out From the Oven?
Never leave the cream puffs unattended in the oven. When your puffs get a golden color and look fresh and crispy in texture, carefully analyze.
Take one of the shells out and see if it has a proper hollow surface inside. If it is dry from the inside and is not soggy or moist, then your puffs are ready. Just wait one more minute so that they become crispy and take them out.
On the other hand, if you feel them a bit soggy, put them back at 200 degrees Fahrenheit and take them out once they are dry and crispy.
Can I Make Puffs in Advance?
Of course! You can make puffs five days before the actual gathering day. Just place them in an airtight container and leave them at room temperature.
You may feel them a bit less crispy on an actual day, but we have a quick fix too. Just rebake them at 300 degrees celsius for just 10 minutes.
Allow them to cool and fill them with cream. This quick-fix will give you the same crispy and fresh cream puffs.
Can I Freeze the Cream Puffs With Cream Inside?
You can freeze the cream puffs with cream inside, but they will not taste as fresh or crispy as they were before.
We also don’t recommend freezing them but refrigerate them in an airtight bag and defrost them at room temperature if you are left with some leftover cream puffs. Try to fill the cream from the bottom so that cream may remain soft even after freezing the puffs.
What Other Tasty Fillings Can I Add Inside Puffs?
The yummy fillings are never limited to the below list.
- Chocolate sauce drizzled on top right before serving.
- Pastry cream is also known as custard.
- Combine equal parts pastry cream and whipped cream for a light custard filling.
- Fill the shells with ice cream for a frozen treat.
- Mix the whipped cream with some fruit jam
- Top with fresh fruit like strawberries or peaches.
Frequently Asked Questions (FAQs)
Do cream puffs need to be refrigerated?
If you are left with some cream puffs and you need to place them in the refrigerator then place them in an airtight bag and store them in a refrigerator.
How do you keep cream puff shells from getting soggy?
Always cook them well until they are properly baked. Also, do not rush to fill them with cream.
Final Words
Now you know everything about cream puffs and how easy it is to make cream puffs with just five basic ingredients in hand. Why not bake it next time as a dessert at home?
Do share your experience with us, and if you’ve found this article helpful, share it with your friends as well.